

How to conduct a physical security assessment: 7 steps + checklist

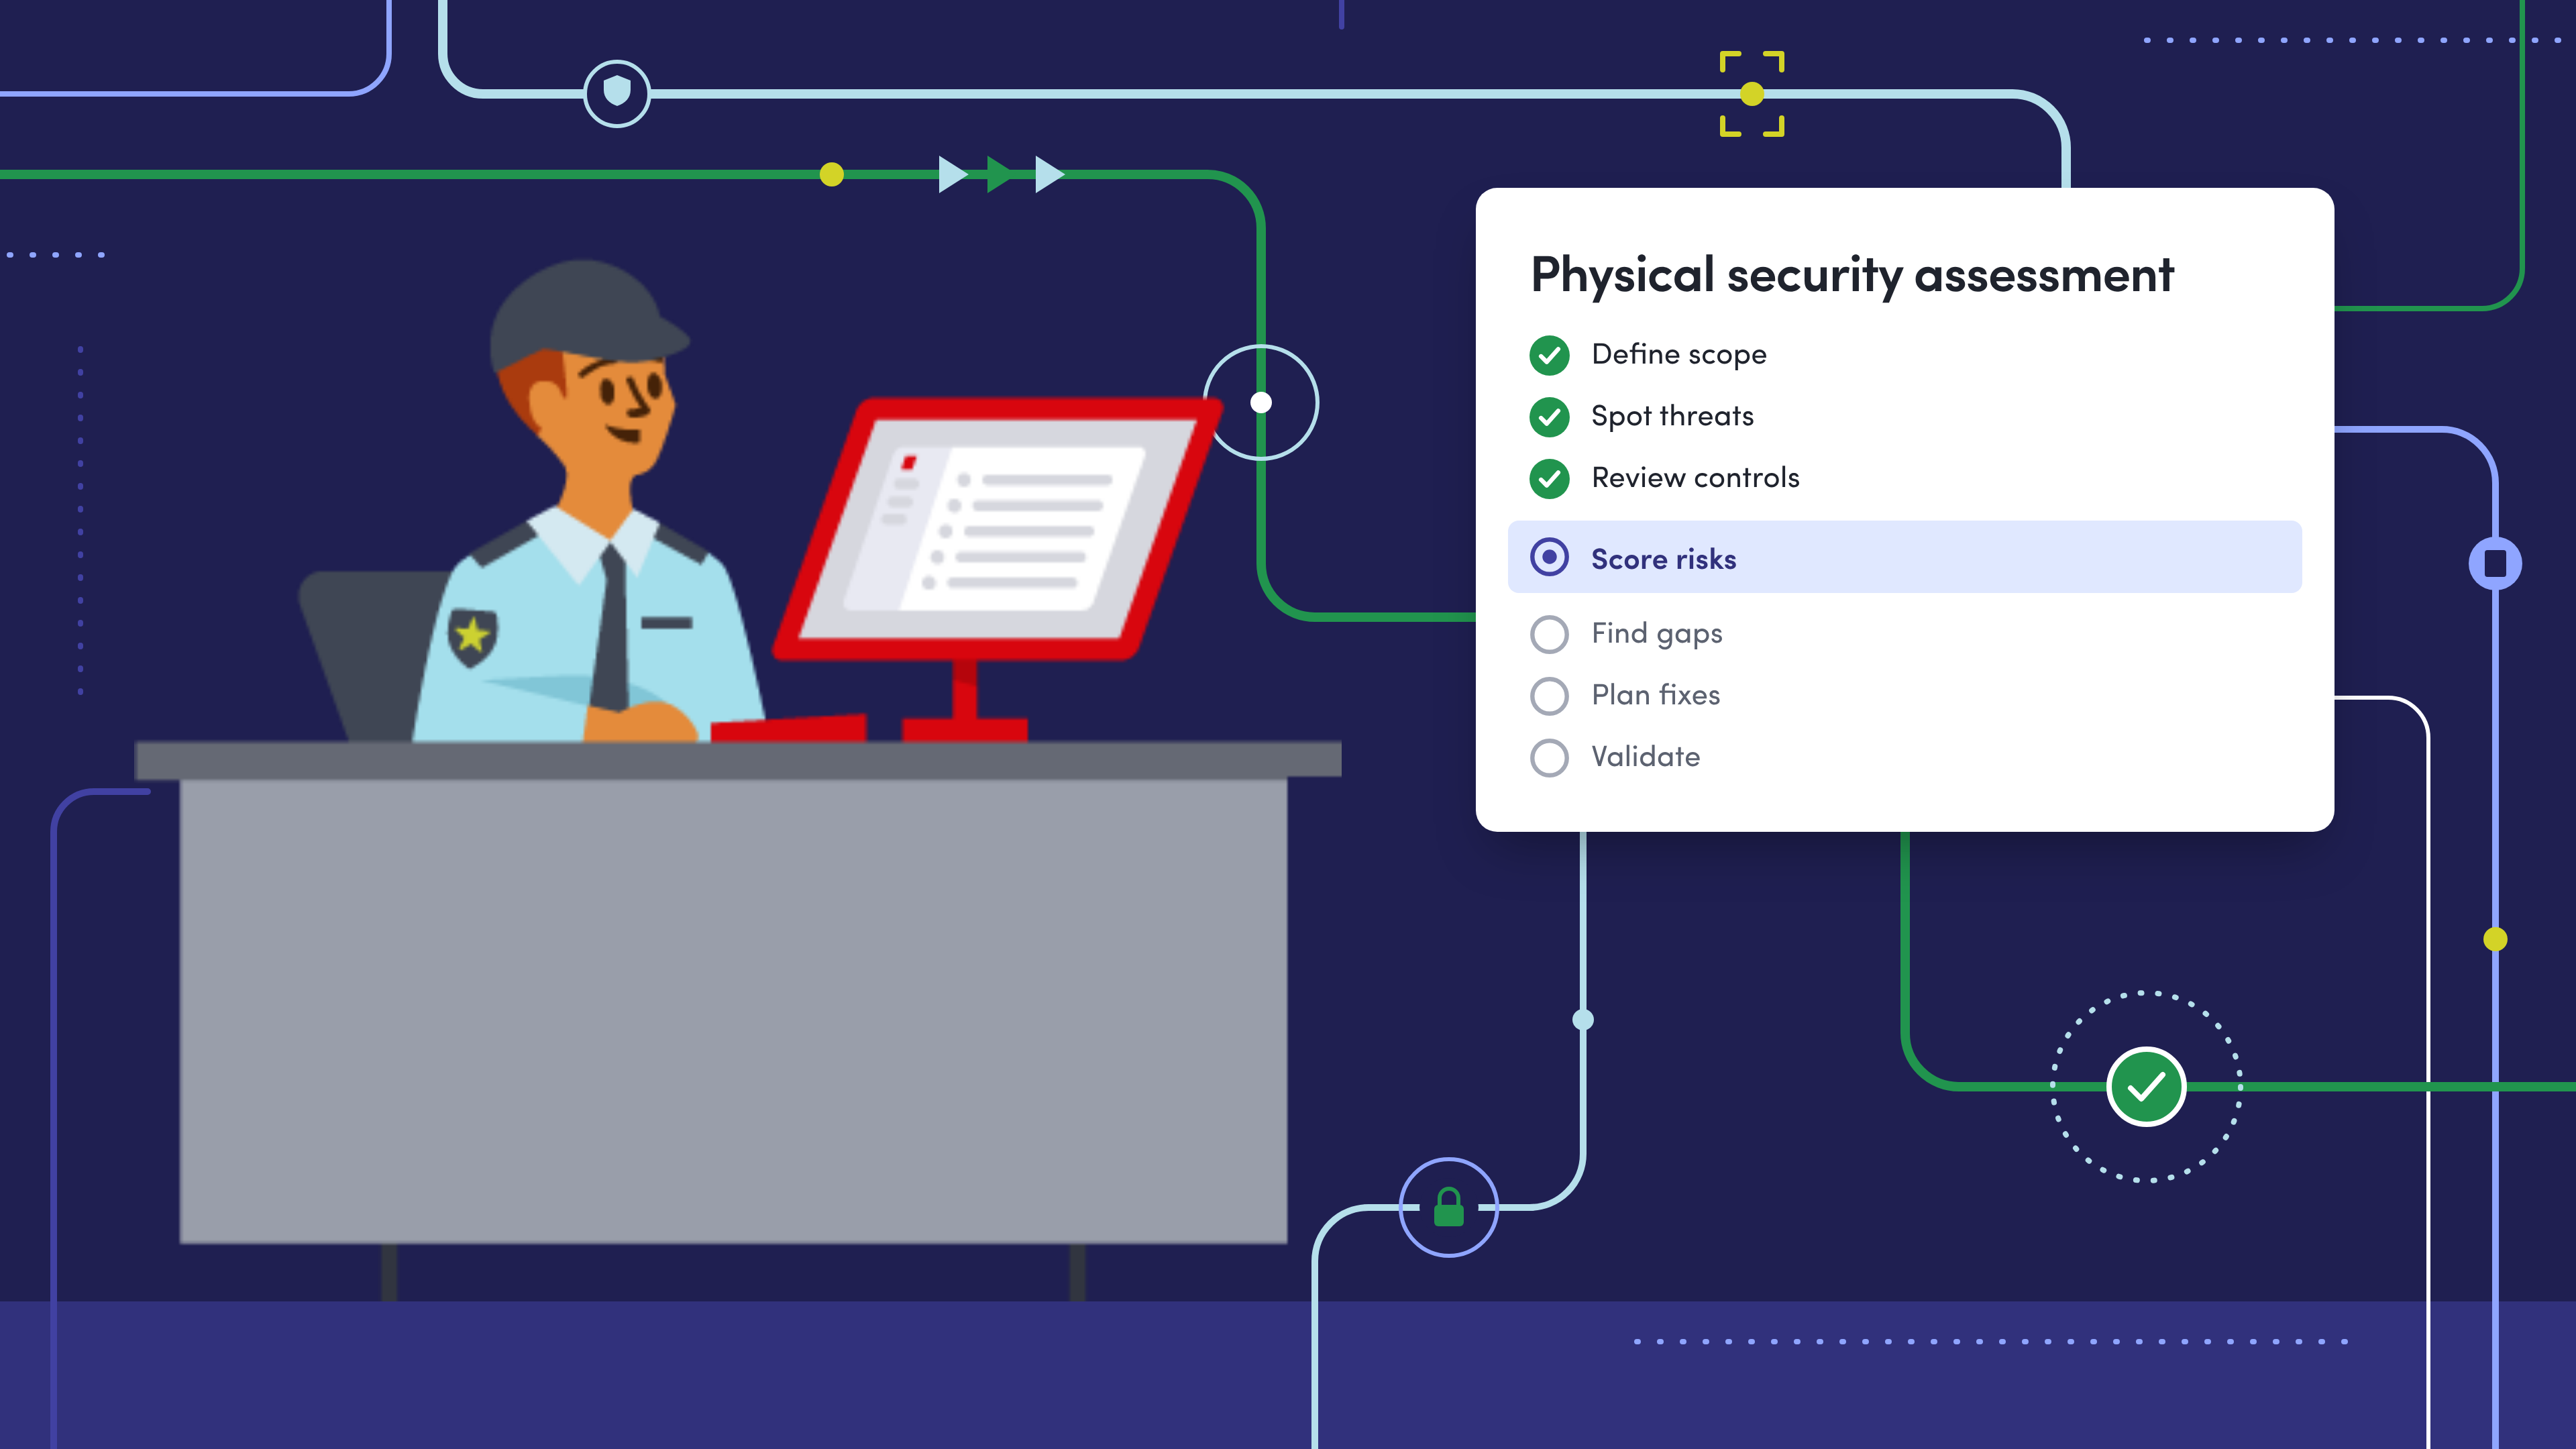
It’s hard to strengthen physical security if you don’t know where the weak points are. A physical security assessment gives you that baseline. It helps you uncover gaps across your workplace, see how well existing controls work, and understand which risks deserve attention first.
That makes it an important starting point for everything from improving day-to-day security to preparing for an audit, opening a new site, or strengthening emergency response. Below, we’ll go over what a physical security assessment is and walk you through the steps to conduct one.
What is a physical security assessment?
A physical security assessment reviews how well a facility protects its people, property, and restricted areas from physical threats. It looks at potential risks, existing controls, and where gaps remain, from entrances and visitor access to emergency response and documentation.
Frameworks like the ASIS Security Risk Assessment Standard (SRA-2024) can help organizations assess and prioritize those risks using a consistent process.
Physical security assessment vs. operational risk assessment
An operational risk assessment looks broadly at what could disrupt the organization, including people, processes, systems, vendors, technology, and external events. A physical security assessment goes narrower and deeper on the facility itself, asking questions like:
- Can an unauthorized person get onto the property or into the building?
- Do visitors and contractors receive the right level of access?
- Are sensitive areas properly protected from public or general employee access?
- Can security teams identify who’s onsite during an emergency?
- Do emergency communication and evacuation processes work in practice?
- Are security events, access decisions, and incidents documented well enough to investigate later?
When should you conduct a physical security assessment?
Physical security risks change as your organization changes, so assessments shouldn’t be one-and-done. Here’s when it’s worth conducting or refreshing one:
- Before opening or acquiring a new location. Evaluate security requirements before operating patterns become established.
- After a security incident or near miss. Reassess whether existing controls worked as expected and what allowed the incident to happen.
- Ahead of an audit or insurance review. Identify gaps before an external party does.
- After a regulatory or policy change. Determine whether current controls still support new requirements.
- After major facility changes. Renovations, new entrances, changing occupancy, new restricted areas, or shifts in how contractors and visitors use the site can all change the risk picture.
- On a recurring basis. Facilities, workplace threats, and working patterns change. Your assessment should, too.
How often you reassess depends on your workplace and its risks. For some workplaces, once a year may be enough, but higher-risk or more regulated locations may need more frequent reviews—especially after major changes or incidents.
How to conduct a physical security assessment
A useful assessment should result in more than a list of observations. By the end, you should be able to say what your highest-priority risks are, what controls already address them, where the gaps are, and who owns the next step. Here’s how to run the assessment, step by step:
Step 1. Define the scope and identify your assets
Start by deciding exactly what you’re assessing. For a single location, that might include the property line, parking areas, entrances, lobby, offices, loading areas, server rooms, labs, production areas, and other restricted spaces.
For a larger campus, you may need to assess individual buildings or zones separately. Then, identify what you need to protect. Assets generally include:
- People (including employees, visitors, and contractors)
- Buildings and physical property
- Sensitive or restricted spaces
- Equipment and inventory
- Intellectual property or confidential information
- Critical infrastructure and utilities
- Business operations that need to remain available
Don’t treat every asset as equally critical. A public conference room and a laboratory containing controlled materials require very different levels of protection.
Step 2. Identify threats and vulnerabilities
Next, ask two different questions: 1) What could happen? That’s the threat. 2) What weakness could allow it to happen or make the consequences worse? That’s the vulnerability.
Potential physical security threats might include unauthorized entry, theft, vandalism, workplace violence, sabotage, severe weather, fire, or another emergency affecting the facility.
The relevant threats will vary significantly by location and industry. A downtown headquarters, manufacturing plant, data center, and pharmaceutical lab should not end up with identical threat profiles. It can help to review:
- Previous incidents and near misses
- Local threat and crime information
- Facility-specific hazards
- Employee or security reports
- Access records
- Recent changes to the site
- Known workplace violence risks
- Emergency drill findings
For workplace violence specifically, organizations should also consider how different relationships to the workplace can create different types of exposure. Our guide to the types of workplace violence breaks those scenarios down in more detail.
Once you’ve established the threats, walk the facility looking for vulnerabilities associated with them. A locked door isn’t simply “secure” because a lock exists. Ask if the door can be propped open, if credentials are shared, if visitors can follow employees through it, if expired credentials are disabled, and if anyone reviews unusual access activity.
Shifting from asking whether a control exists to whether it actually works is one of the most important parts of the assessment.
Step 3. Review your existing security controls
Now document what’s already reducing each risk. Physical security works in layers, so review preventive, detective, and response controls together rather than evaluating individual tools in isolation. For example, an entrance may have:
- Exterior lighting and cameras
- Locked doors
- An electronic access control system
- A staffed reception desk
- Visitor identification requirements
- Visitor screening
- Temporary badges
- Host approvals
- Security alerts
- A record of who entered and when
Individually, each control addresses part of the problem. Together, they determine how difficult it is for an unauthorized person to gain access unnoticed. For each control, record whether it’s effective (implemented consistently and working as intended), partial (present, but inconsistent or incomplete), or missing (no meaningful control currently addresses the vulnerability.)
This will make it much easier to conduct the gap analysis later.
Step 4. Score and prioritize the risks
Not every issue you find deserves the same urgency. Use a consistent scoring method to compare risks across the assessment. A straightforward option is:
Risk score = likelihood × impact
Then, rate each risk.
That gives each risk a score between 1 and 25.
You can then group the results:
Use this as a starting point and adjust the thresholds to fit your organization. Be sure to keep the scoring consistent across sites so you can compare risks more easily.
Step 5. Identify the security gaps
Once you’ve scored the risks, look at where your current controls fall short. You might also run a physical penetration test, or “pen test,” where an authorized tester tries to get past your physical security controls to spot weaknesses that a standard assessment could miss.
For example, employees may need badges to enter a restricted R&D area, while contractors use generic credentials that aren’t tied to a specific visit.
That gap might look like this:
This level of detail makes the assessment actionable. “Improve contractor security” doesn’t tell anyone what to fix, but a documented control gap does.
Step 6. Build a remediation plan
Next, turn the prioritized gaps into assigned work. For every high-priority finding, document:
- The recommended remediation
- The person or team responsible
- Target completion date
- Resources or budget required
- Dependencies
- Current status
- Residual risk after the change
Some fixes may be physical, like better lighting, new door hardware, barriers, or camera placement. Others may involve your processes or systems, like updating visitor approvals, access permissions, contractor checks, or emergency communication.
Focus on the gap first, then choose the fix that best addresses it.
Step 7. Reassess and validate
A physical security assessment is a snapshot of your current security posture. Once high-priority remediation is complete, verify that the new control actually resolves the original issue. Then, keep the assessment current as the facility changes.
Reassessment might be triggered by:
- A completed remediation project
- A security incident
- New construction or renovation
- A new tenant or business unit
- Major workforce or occupancy changes
- New regulatory requirements
- New threat information
- A scheduled periodic review
This is also why drills matter. A plan can look good on paper but still fall apart when people actually need to use it. Make sure your emergency preparedness plan is tested and updated as your physical security setup changes.
Physical security assessment checklist
The exact checklist should reflect your site, but the following six areas provide a starting framework.
Don’t just ask whether a control exists. Ask: Does it work? Is it used consistently? Can we prove it?
Don’t overlook emergency response during a physical security assessment
Physical security isn’t just about keeping threats out. Your assessment should also look at what happens when an incident occurs. Check whether teams can:
- Report incidents and alert the right people
- Reach employees, visitors, and contractors
- Share evacuation or shelter instructions
- See who’s onsite and account for people afterward
- Identify anyone who still needs help
- Document what happened and how the team responded
For U.S. employers required to maintain an emergency action plan, OSHA 29 CFR 1910.38 includes procedures for emergency reporting, evacuation, employee accountability, alarm systems, and training.
Use the assessment to make sure those procedures work in practice.
Where Envoy fits into a physical security assessment
Several key parts of a physical security assessment come down to knowing who’s entering the workplace, what they can access, who’s onsite during an incident, and what happened afterward.
That’s where Envoy can help.
- Visitor and contractor access. Standardize registration and approval workflows, collect required information or documents, verify identity, issue badges, and connect approved visits with existing access control systems.
- Visitor screening. Screen guests against internal blocklists and third-party watchlists, require approval for matches, and support identity verification during sign-in.
- Access records and audit trails. Keep a digital record of who arrived, when they entered, why they were onsite, what they could access, and whether entry was approved or denied.
- Emergency response. Use threat intelligence and real-time presence data to identify threats and who may be affected, send targeted alerts, collect safety responses, run roll call, and communicate as the incident unfolds.
These capabilities help close specific gaps around identity, access, presence, response, and documentation that your physical security assessment may uncover.
—
Ready to strengthen your workplace security? Use our workplace security checklist to review your current setup and spot areas for improvement. Want to see how Envoy can help? Schedule a demo.
Frequently asked questions about physical security assessments
What’s included in a physical security assessment?
A physical security assessment evaluates the assets a facility needs to protect, where the risks are, what controls are already in place, and where gaps remain. It typically covers areas like entrances, visitor and contractor access, restricted spaces, emergency response, and security records.
How do you conduct a physical security assessment?
Start by defining the site and assets being assessed. Then identify relevant threats and vulnerabilities, document existing security controls, score and prioritize the risks, identify gaps, create a remediation plan, and establish a process for reassessment.
How often should a physical security assessment be conducted?
There’s no single frequency appropriate for every organization. Assessments should be refreshed when the facility, threat environment, regulations, or operating conditions change and after significant security incidents. Many organizations also establish a recurring review cadence based on their individual risk profile.
What’s the difference between a physical security assessment and a physical security audit?
A physical security assessment is primarily risk-based. It identifies threats, vulnerabilities, and control gaps and helps prioritize improvements. An audit evaluates whether specific policies, standards, regulations, or control requirements are being followed. Organizations often use both as part of its overall security program.
Who should conduct a physical security assessment?
The assessment should involve the teams that understand the facility and its risks, which may include physical security, facilities, workplace, IT, safety, HR, and business continuity. Higher risk or specialized facilities may also benefit from an independent security professional with relevant assessment expertise.
Read more

We’ll show you how to put together a visitor process around SQF requirements, with practical steps and records your team can use.

This guide covers CTPAT’s visitor management criteria and the workflows and records that help your team prepare for validation.

This guide covers how visitor management supports FISMA, which NIST controls apply, and what your team needs to document along the way.

In this guide, we’ll break down how cloud digital signage works, how it compares with on-premise signage, cost factors, and what to look for in a solution.

Learn how to support ITAR compliance with visitor screening, access approvals, onsite controls, and records that document each visit.

Compare leading mass notification vendors, their best-fit use cases, and key tradeoffs. Learn what to evaluate before choosing a system.